If you’ve ever looked at someone and thought, “Wow… her hair looks like it’s growing straight out of her scalp,” chances are she’s wearing a frontal wig. When installed properly, frontals blend beautifully into your skin to give you that soft, natural, melted look we all love.
But let’s be honest. If you’re installing a frontal wig for the first time, it can feel overwhelming. Lace, glue, caps, plucking, melting… It’s a lot. And if you don’t know where to begin, even a simple bob can feel intimidating.
The good news? You don’t need salon training to get a flawless, secure result at home. With the right steps and a bit of patience, you can create a melt so clean that people will genuinely think it’s your real hair.
This guide breaks down everything – from choosing the right wig, to prepping your hair, to installing and styling your frontal for a natural look. Whether you prefer a short, classy bob or long, flowing inches, you’ll find everything you need right here.
Choose the Right Frontal Wig for Your Look
Before you even think about installation, choosing the right frontal makes all the difference. Once you understand wig types, lace options, and sizing, it becomes much easier to pick a wig that actually looks like it belongs on your head.
What exactly is a lace wig?
Hand-tying strands of hair onto a thin, sheer lace material makes a lace wig. When that lace sits against your skin, it creates the illusion that the hair is growing directly from your scalp, which is why lace wigs look so realistic.
A frontal lace wig specifically has lace running from ear to ear, giving you the freedom to part your hair in different ways or style it off your face without exposing the wig base. Many come with baby hairs already added for a softer, more natural look.
Understanding wig sizes and lace types
Getting the correct size is essential because a wig that’s too big lifts… and a wig that’s too small just won’t sit comfortably.
Most people wear a standard or “average” size wig. To check your size, measure around your head from your hairline, over your ears, around your occipital bone, and back to the front.
You’ll also need to choose between different lace types:
- Swiss lace – soft, breathable and durable; works for most people.
- HD lace – ultra-thin, blends beautifully but needs gentle handling.
- Transparent lace – best for lighter skin tones unless tinted.
- French lace – stronger, great for long-term wear or active lifestyles.
Frontals also come in different dimensions. The common ones include:
- 13×4 lace frontal – 13 inches across, 4 inches deep
- 13×6 lace frontal – gives deeper parting space
- 360 lace – lace all around for full styling freedom
How much does a frontal wig installation cost?
- R400–R500 for a standard 13×4 frontal installation
- R250 if you install the hair on the same day you buy it from the salon
- R350–R450 for plucking
- R500–R600 for colouring
- R300–R400 for styling
- ±R700 for a 360 frontal installation
Prep Your Hair and Skin for Installation
A smooth, flat base is the secret behind every great melt. If your natural hair isn’t prepared properly, even the most expensive lace won’t sit right.
Braid or flatten your natural hair
Your foundation needs to be as flat as possible.
- Cornrows are the best option for people with medium to long hair.
- If you prefer not to braid, try flat twists or slick your hair back with gel.
- Short hair? A simple slick-back or low bun (tucked neatly) works well.
The rule is simple:
The flatter the base, the more natural your frontal will look. Make sure your hair is completely dry. Moisture under a wig can cause mould or scalp irritation.
Clean and protect your skin
Before any glue or spray touches your skin, clean the area around your hairline with alcohol or astringent to remove oil.
Then apply a scalp protector. It helps with:
- preventing irritation
- reducing redness
- improving adhesion
- protecting your skin in hot or humid weather
Let it dry fully before moving on.
Cap method or pantyhose method?
Most beginners start with a regular wig cap, but many stylists now prefer the pantyhose method because it lies flatter.
Here’s the basic process:
- Place a piece of skin-tone pantyhose over your head.
- Spray the hairline with Got2B or an equivalent holding spray.
- Let it dry.
- Cut away the excess around your hairline.
This creates a smooth, natural-looking base that helps the lace melt seamlessly.
Customise the Wig for a Natural Hairline
Even the best frontal needs a little tweaking to truly look like yours.
Tint the lace
Your lace should match your skin tone as closely as possible. You can use:
- lace tint spray
- lace tint mousse
- makeup (foundation or powder)
- fabric dye (for advanced users only)
Apply the tint evenly across the inside of the lace, and let it dry.
Pluck the hairline
Wigs often come with dense, straight hairlines. Plucking helps soften this and create a gradual, natural transition.
A beginner-friendly approach:
- Pluck a little at a time. Don’t rush.
- Pluck in small sections.
- Use a “pluck, pluck, move” rhythm.
- Comb out the hair frequently to check your progress.
Avoid over-plucking. If in doubt, stop and check in the mirror.
Use a hot comb to get the roots sleek
A hot comb is your best friend for getting that smooth, laid look.
- Warm up the hot comb (not too hot)
- Use mousse or light pomade at the roots.
- Press the back of the comb (not the teeth) against the hair.
- Work in small sections
This step gives your wig that fresh-from-the-salon finish.
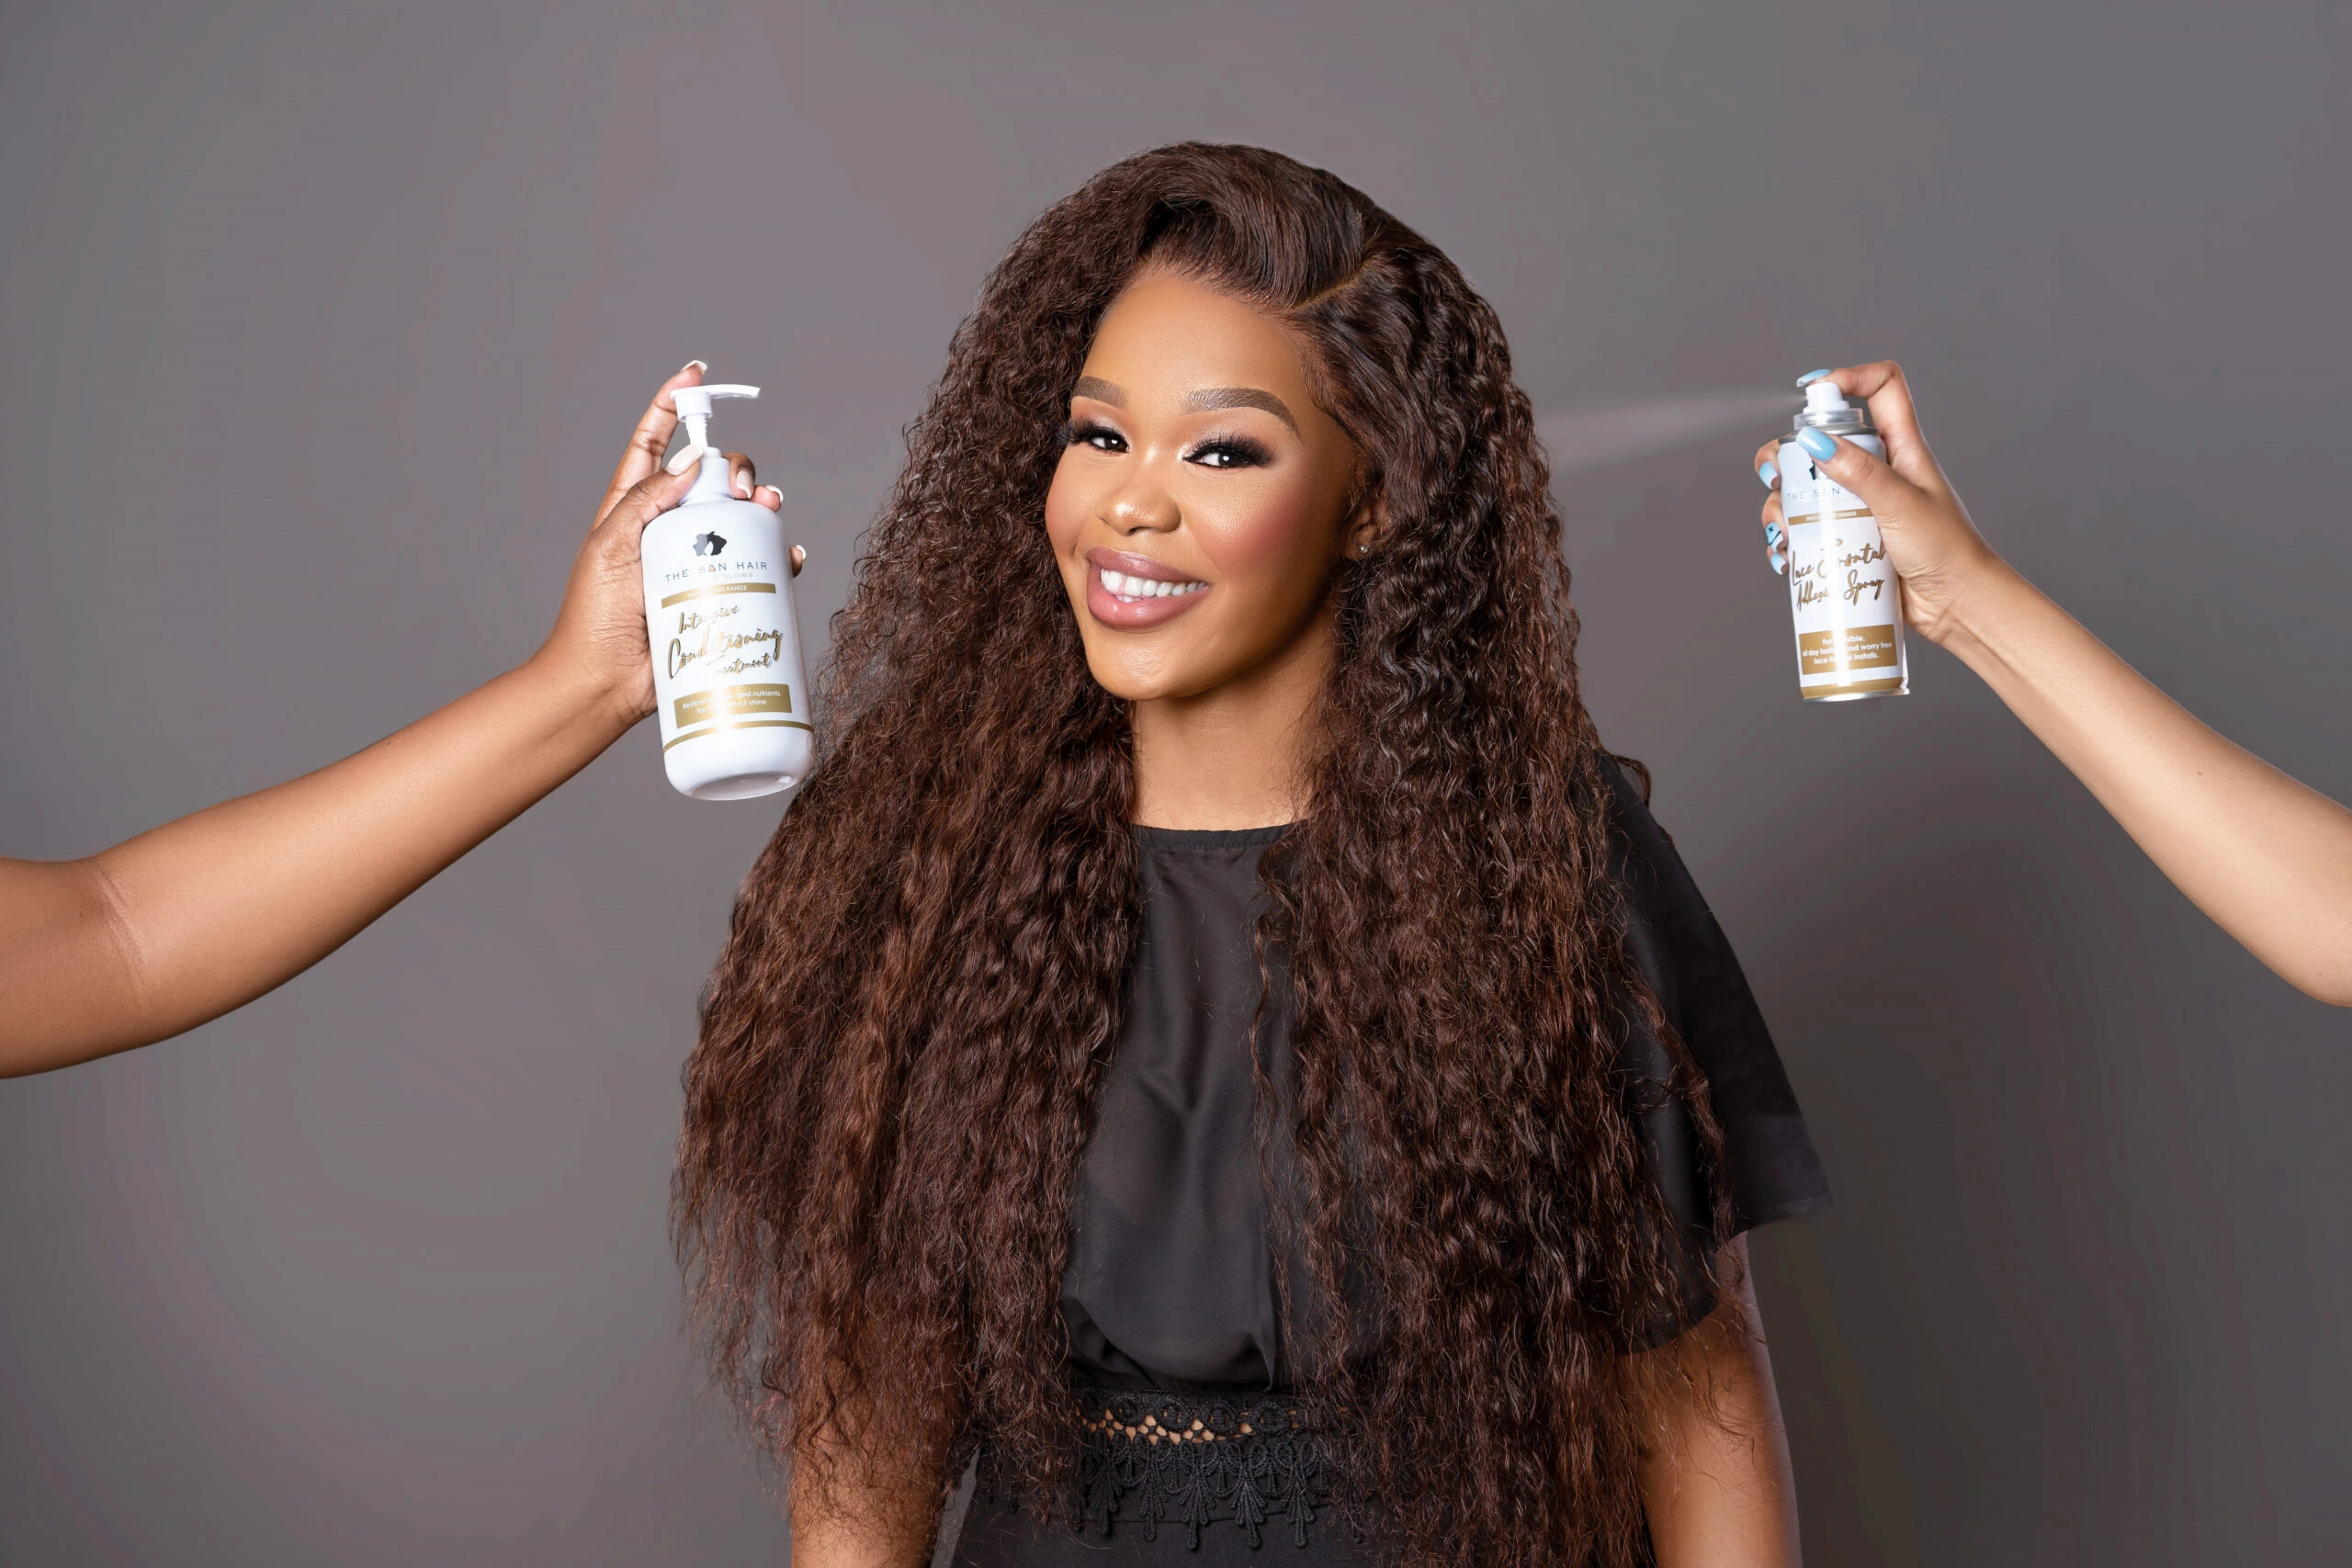
Apply Adhesive and Install the Wig
Once your wig is prepped, it’s time for the actual installation.
Glue vs spray: which one should you choose?
- Glue (e.g., Ghost Bond): Lasts longer, up to a few weeks with proper care.
- Spray (e.g., Got2B): Best for short-term wear or daily removal.
Your lifestyle will guide your choice.
Layer your adhesive properly
For a strong, long-lasting installation:
- Apply thin layers
- Let each layer dry transparent
- Use a cool blow dryer to speed up drying.
- Apply more layers around the ear tabs for extra hold.
2 layers = temporary hold
5–6 layers = long-lasting, sweat-proof hold
Place the wig and secure the ear tabs
Start by:
- Aligning the middle of the hairline
- Pressing the lace into the adhesive
- Working your way toward the ears
Ear tabs tend to lift first, so press them down firmly.
Use an elastic band for the perfect melt
Once the wig is in place, wrap an elastic band around your hairline. Leave it on for 15–20 minutes to help the lace blend seamlessly into your skin.
Style and Blend for a Flawless Finish
Now for the fun part – bringing the entire look together.
Flat iron and shape the hair
Use a heat protectant and keep temperatures below 400°F (or even lower for coloured wigs). Work in small sections for the best results.
Blend the lace
Apply a bit of your foundation around the edges of the lace. Tap gently. Don’t rub – to avoid product buildup.
Baby hairs or no baby hairs?
- This comes down to personal preference.
- If you like baby hairs, cut them short and use gel or mousse to style them.
- If you prefer a cleaner look, skip them.
- Or do very soft, minimal edges for a natural finish.
Tips for Long-Lasting Wear and Maintenance
A well-maintained wig can last months, even years.
- Wash human hair wigs every 7–10 wears
- Remove your wig when you sleep (if it’s not a long-term install)
- Use a lightweight serum to add shine.
- Avoid heavy oils that weigh the hair down
- Store it on a mannequin head to maintain shape.
High-quality human hair frontals can last over a year with proper care.
Wrappin’ it up (Go from Beginner to Pro with these Tips)
Your first install might take a while. And that’s perfectly fine. With practice, you’ll get faster, cleaner and more confident. Before long, you’ll be switching wigs like a pro and giving “this-hair-grew-out-of-my-scalp” every single time.
Key Takeaways
- Prep is everything – flat natural hair and clean skin create the perfect base.
- Customise your wig with tinting, plucking and hot combing for a natural finish.
- Apply adhesive in layers for a stronger, longer-lasting hold.
- Use an elastic band to melt the lace seamlessly.
- Maintain your wig properly to maximise its lifespan.
FAQs
Q1. How long does it take to install a frontal wig?
Beginners may take 1–3 hours. With practice, you can get it done in about 45–60 minutes.
Q2. Can I swim or exercise with a frontal wig?
Yes. Just make sure you use a strong, waterproof adhesive and apply extra layers on the hairline and ear tabs.
Q3. How often should I reinstall my wig?
Generally, every 2–3 weeks, depending on your lifestyle and adhesive.
Q4. How do I remove my frontal safely?
Use a lace adhesive remover. Apply it along the hairline, let it sit for a few minutes, and gently lift the lace. Never pull it off forcefully.
Q5. Can I dye or bleach a human hair frontal?
Yes. Human hair wigs can be coloured, but it’s best to let a professional do it to avoid damaging the lace or hair.